The basis of this system is a brass tab with female thread. In most cases,
a socket head set screw is screwed into a devise or collar and set if needed.
The prototype shown uses a 1/4"x20 set screw but production pieces will use #6x32 set
screws. The smaller diameter provides for more thread engagement. In the case of
The McLux, a #6 flat head screw is passed through the 1/4" hole from inside the guard and
screwed into the tab for a very secure joint.
Below, a GoldTab is installed on a McLux and shown next to "TheClip" belt clip the tab is
designed for:
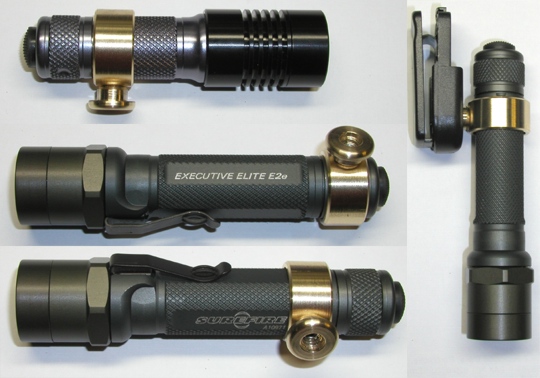
A brass collar for the SureFire E series has a reduced diameter lip within the bore. This
lip will clear the non knurled section of the tail cap or battery tube but will not pass over
the knurled section. This lip holds the collar captive even if the setscrew were to loosen.
Various combinations are shown below.
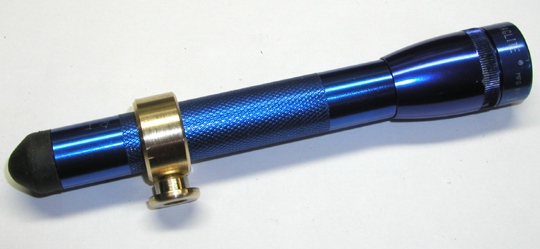
A straight collar for the Mag AA light allows for either bezel up or bezel down carry;
depending on placement of the collar:
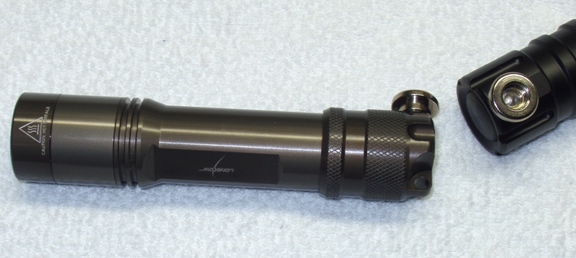
For lights with tail switches, the guard provides for a stop when the light is held in a combat
grip. The tabs can be directly mounted to the lights and accessories:


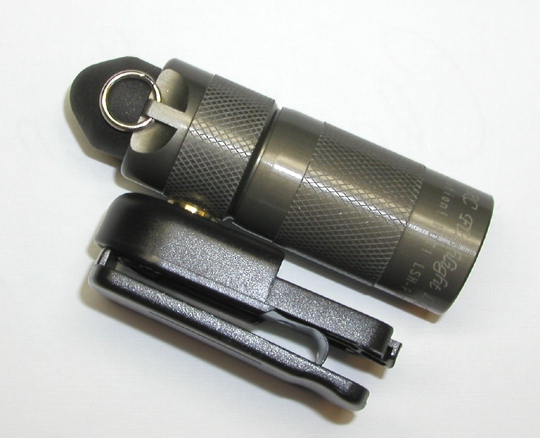
With some interference induced between the tab and clip to impede rotation, the Arc LSH
on the clip makes a good hands free light source; belt or hat bill mounted.
Some of the tabs shown above are prototypes. A production tab has been made and it is
mounted with a #6x32 screw. The tabs shown below are of this production style:

Installation notes:
When these tabs are used, it is very important to insure a secure connection and a thread
locking material should be used. The collars have a #6x32 set screw that secures them to
the battery tube or tail cap. This set screw should be tightened but NOT over tightened!
The set screw can damage or collapse the thin wall of some of the tubes. Once the collar
is in place, the tab is screwed down onto the set screw. When the tab is tightened against
the collar it acts like a jam or lock nut, putting the threads of the set screw in tension.
Tightening the tab against the collar does not increase the pressure of the set screw against
the battery tube. The allen wrench can be passed through the tab and placed in the set screw
to insure that the set screw does not rotate in the collar tightening against the tube when the
tab is jammed against the collar. Adhesives can be used under the collars as well as tape or
shim stock under where the set screw contacts the tube. Anyone using these parts must
confirm to their own satisfaction that the parts are secure and acceptable for the application
in mind.
Some of the battery tubes have thick enough walls that they can be tapped for the #6x32 screw
directly. A liberal amount of thread lock will insure that the set screw is not only secure but water
tight as well.
In addition to serving as a host for the tabs, the brass collars are also tapped with a 1/4"x20 hole.
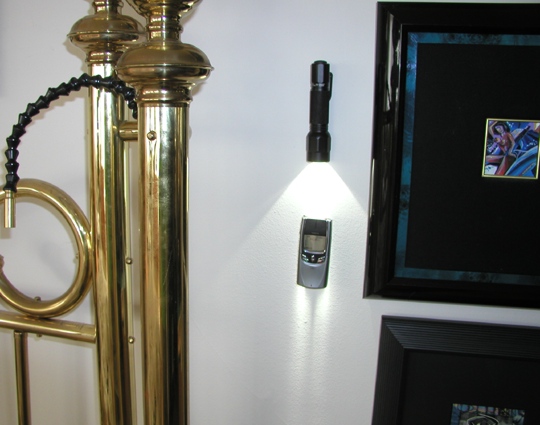
This is to allow for an independent mounting on a flexible stalk or tri-pod. Many folks are finding that
the new LED flashlights serve well for hands free tempory task lighting as well as light sources for
photography. The collars can be used strictly for this purpose without the tabs. The collar is slipped on
and when the 1/4"x20 screw on the stalk or tri-pod is tightened, it secures the collar to the light as well.
The E series collars have a reduced diameter shoulder that holds them captive between the tail cap
and the battery tube. The tailcap must be removed to install these. Below, a McLux/ E2 combo is
mounted on a flexible stalk:

The tabs also allow for easy access and storage of the lights on walls, in vehicles, boats, etc..
A swivel post was added to an aditional counter sunk hole (from inside the collar). This post hosts a split ring for lanyard attachment.

The tabs can be drilled and re tapped for 1/4"x20 threads as in the case on the LongBow
lights below: